Categoria: Dev

  • Risolvere ‘Unifi cannot configure controller’

    Risolvere ‘Unifi cannot configure controller’

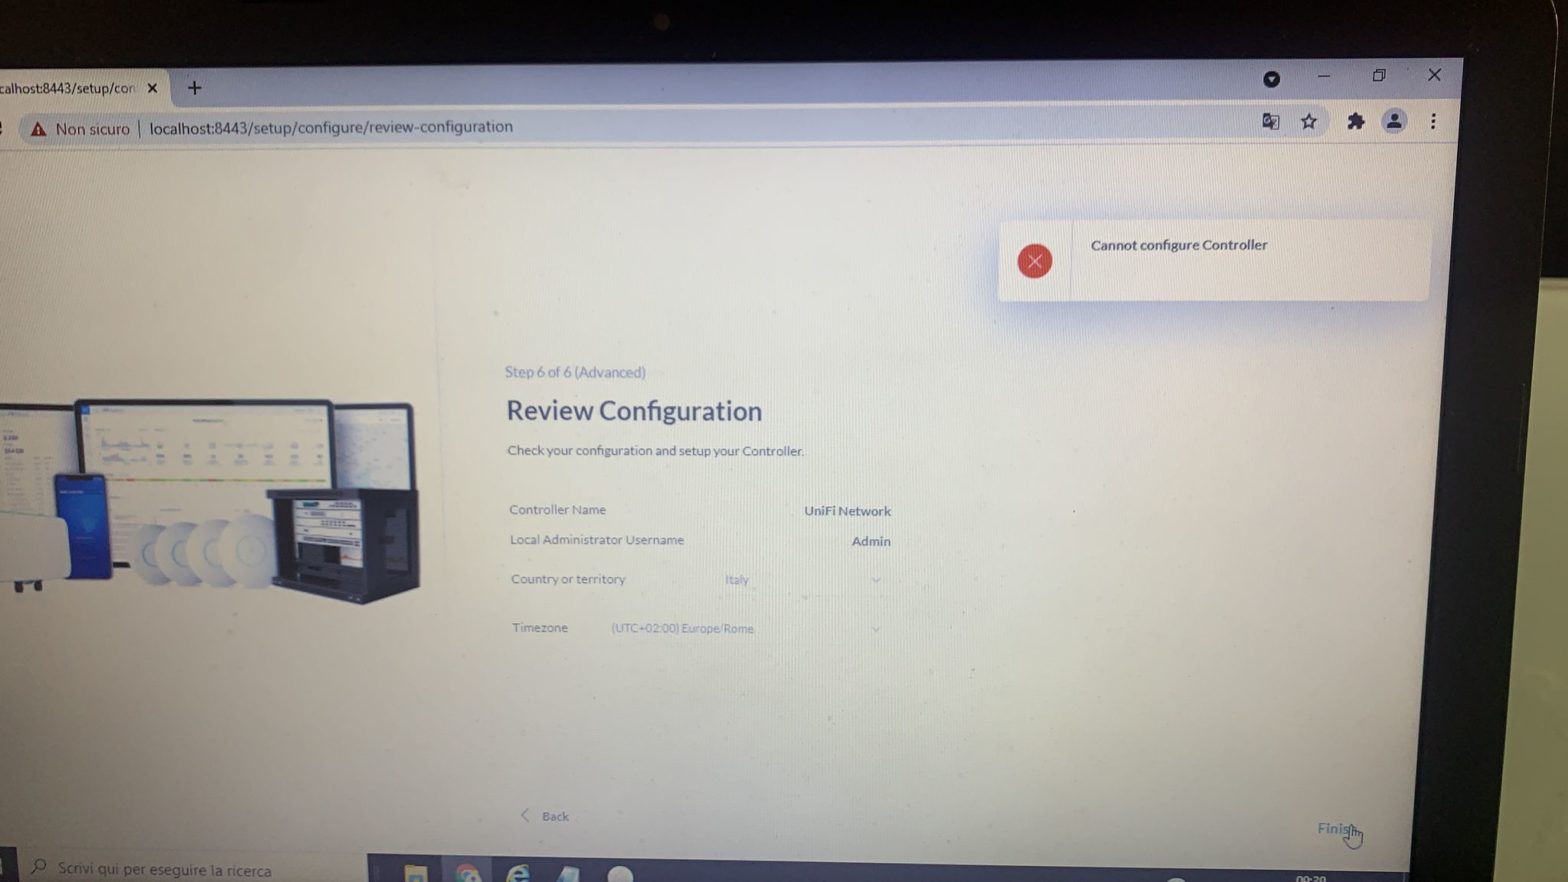
    Durante la configurazione dell’Unifi controller si potrebbe presentare questo errore:

    Per risolvere il problema è sufficiente disabilitare il controllo del certificato HTTPS in Google Chrome:

    Digitando nella barra degli indirizzi:

    chrome://flags/#allow-insecure-localhost

    Quando questa opzione è attivata, le richieste a localhost sono consentite su HTTPS protetto anche quando vengono presentati certificati non validi.

    Allow invali certificates for localhost: l’opzione deve essere su Enabled
  • Montare file iso su usb drive

    Per montare un file iso su una chiavetta USB seguire i seguenti passaggi:

    • Collega la chiavetta usb
    • Apri il terminale
    • lancia diskutil list e dalla lista scopri il nome del dispositivo (e.g. /dev/disk2).
    • Lancia diskutil unmountDisk /dev/diskN
    • Ora sudo dd if=/path-to.iso of=/dev/rdiskN bs=1m (or bs=1M with homebrew)
    • Quando ha finito lancia diskutil eject /dev/diskN

    Per montare un ISO di windows 10 seguire questa guida:

    https://www.freecodecamp.org/news/how-make-a-windows-10-usb-using-your-mac-build-a-bootable-iso-from-your-macs-terminal/

  • Apple Sign In

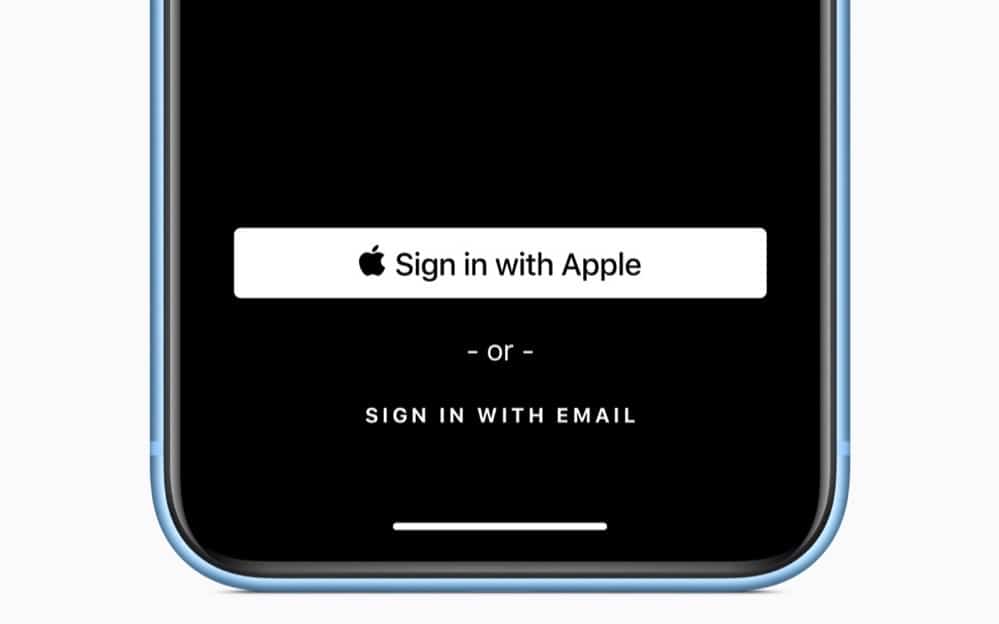
    Apple Sign In

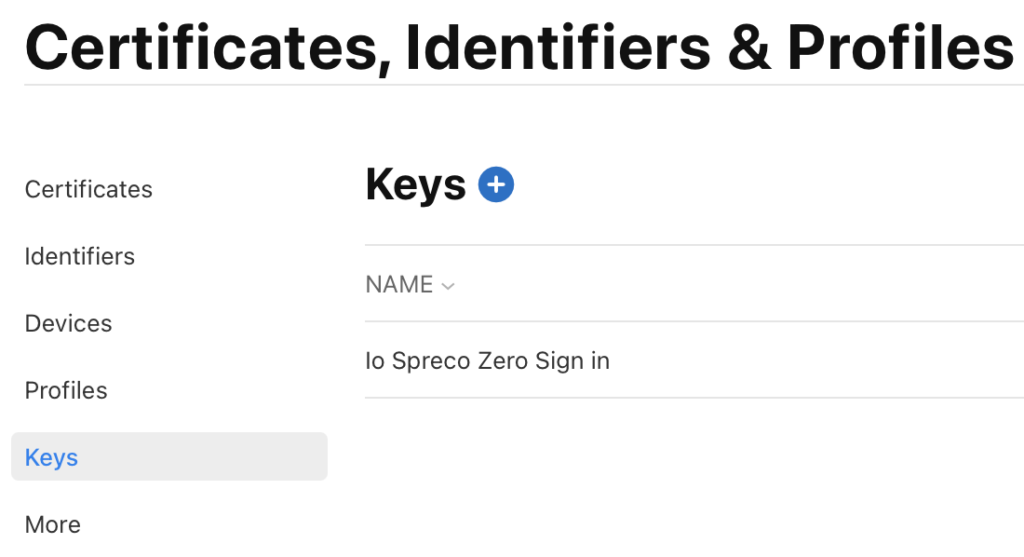
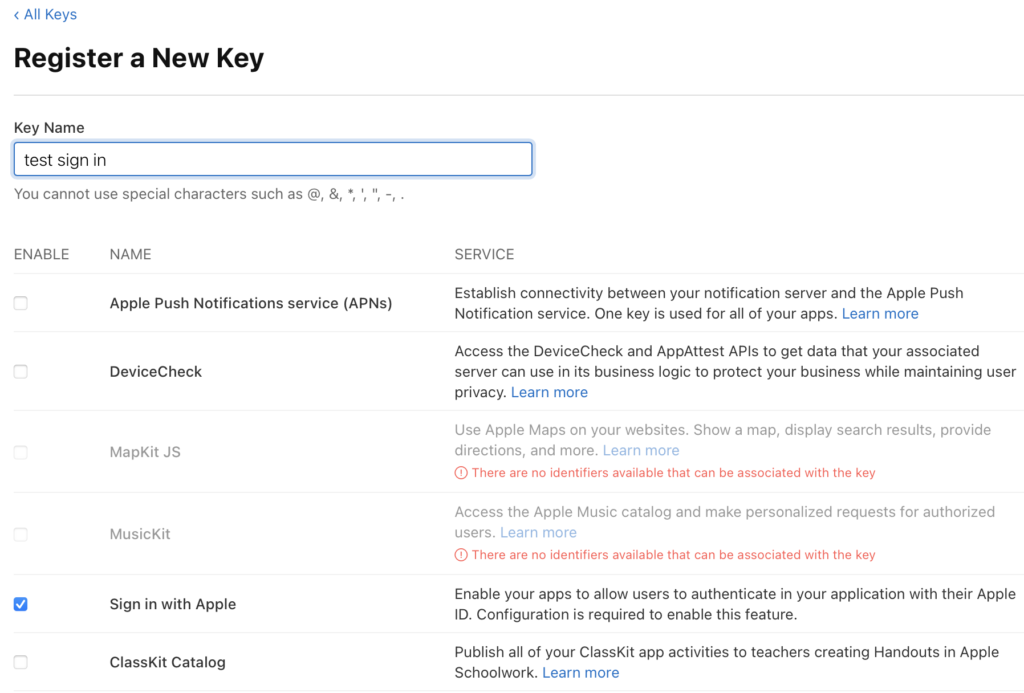
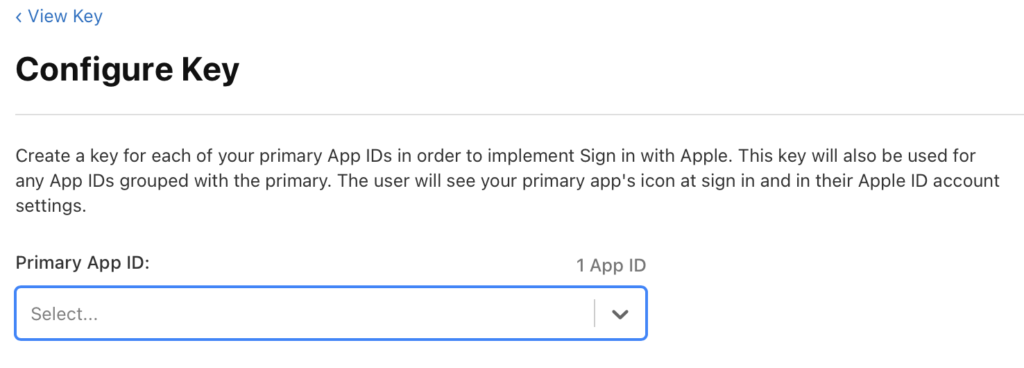
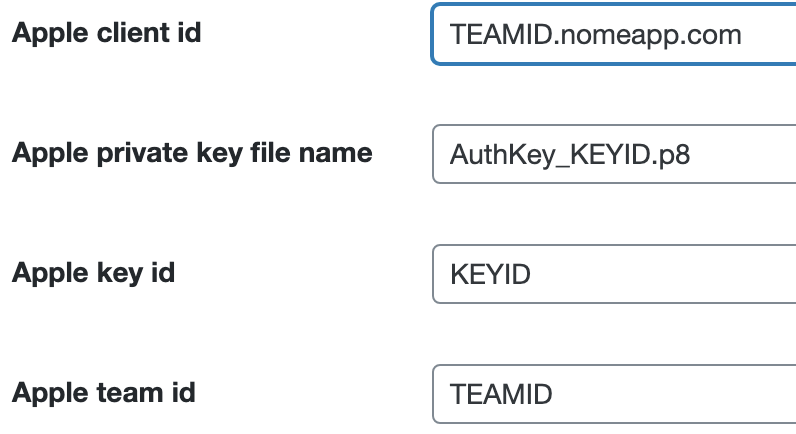
    Configurazione su developer.apple.com

    Farà scaricare un certificato del tipo: AuthKey_[KEYID].p8

    Codice php:

    require 'vendor/autoload.php';
    
    
            $config = new \CurrencyFair\AppleId\Config(
                [
                    \CurrencyFair\AppleId\Config::REDIRECT_URI => site_url(),
                    \CurrencyFair\AppleId\Config::CLIENT_ID => get_option('fabapplelogin_client_id', ''),
                    \CurrencyFair\AppleId\Config::TEAM_ID => get_option('fabapplelogin_team_id'),
                    \CurrencyFair\AppleId\Config::KEY_ID => get_option('fabapplelogin_key_id'),
                    \CurrencyFair\AppleId\Config::PRIVATE_KEY => FAB_PLUGIN_DIR_PATH . 'certificati/' . get_option('fabapplelogin_private_key'),
                ]
            );
    
            $client = \CurrencyFair\AppleId\ClientFactory::create($config);
            $jwtResponse = $client->verifyAndDecodeJwt($identityToken);
    
            $userArray = array(
                'id' => $jwtResponse->getSubject(),
                'email' => $jwtResponse->getEmail(),
                'firt_name' => $jwtResponse->getEmail(),
                'last_name' => '',
                'name' => $jwtResponse->getEmail(),
                //'isPrivateEmail' => $jwtResponse->getIsPrivateEmail(),
                //'getDecodedTokenObject' => $jwtResponse->getDecodedTokenObject(),
            );
    
            $jwt = false;
            $jwt = service::jwt_user_by_profile($userArray, 'apple');
            if (!$jwt) {
                return array(
                    "code" => "error",
                    "message" => "jwt_user_by_profile error",
                    "data" => $jwt,
                );
            }
            return array(
                "code" => "ok",
                "message" => 'apple LoggedIn',
                "data" => $jwt,
            );

    Codice Angular:

    import { ResponseSignInWithApplePlugin } from '@capacitor-community/apple-sign-in';
    
    export class UserLoginPage implements OnInit {
    
    async appleLogin() {
        const { SignInWithApple } = Plugins
    
        try {
          const res: ResponseSignInWithApplePlugin = await SignInWithApple.Authorize()
          if (res.response) {
            this.spinnerDialog.show('Autenticazione in corso...');
            this.wordpress.appleLogin(res.response).subscribe(
              async (resp: any) => {
                this.spinnerDialog.hide();
    
                if (resp['code'] && resp['code'] == 'ok') {
    
                  let data_resp = resp['data'];
                  let user = {
                    token: data_resp.token,
                    username: data_resp.user_nicename,
                    displayname: data_resp.user_display_name,
                    email: data_resp.user_email,
                    roles: data_resp.roles,
                  };
    
                  this.authentication.setUser(user);
                  this.isLogged = user;
                  this.fbLogs = resp['message'];
    
                  //this.toast.show(resp['message']);
    
                  setTimeout(() => {
                    this.sharedservice.login(user);
    
                    this.dismiss();
                  }, 1000);
                } else if (resp['message']) {
                  this.fbLogs = JSON.stringify(resp['data']);
                  const alert = await this.alertCtrl.create({
                    header: 'Signin with Apple',
                    message: resp['message'],
                    buttons: ['Ok']
                  });
                  await alert.present();
                }
              },
              async error => {
                this.spinnerDialog.hide()
                const alert = await this.alertCtrl.create({
                  header: 'Signin with Apple: error',
                  message: JSON.stringify(error),
                  buttons: ['Ok']
                });
                await alert.present();
              }
            );
          }
        } catch (e) {
        }
    
      }
    }
  • Usare ReactJS in WordPress

    Usare ReactJS in WordPress

    class react
        {
            
            public function __construct()
            {
                add_filter('script_loader_tag', array(&$this, 'add_babel_type'), 10, 3);
                add_action('wp_enqueue_scripts', array($this, 'load_scripts_styles'));
            }
    
            function load_scripts_styles()
            {
                wp_register_script('react', 'https://unpkg.com/react@16.9.0/umd/react.development.js', array(), "16.9.0");
                wp_register_script('react-dom', 'https://unpkg.com/react-dom@16/umd/react-dom.development.js', array('react'), "16");
                wp_register_script('babel', 'https://unpkg.com/@babel/standalone/babel.min.js', array('react'), "1");
                wp_register_script('react-jsx', plugin_dir_path(__FILE__) . 'includes/js/react.jsx', array('react'), "1.0");
                $this->load_assets();
            }
    
            public function load_assets()
            {
                wp_enqueue_script('react');
                wp_enqueue_script('react-dom');
                wp_enqueue_script('babel');
                wp_enqueue_script('react-jsx');
    
                $api_settings = array(
                    'security' => wp_create_nonce('mynonce'),
                );
    
                wp_localize_script('react-jsx', 'react_api_settings', $api_settings);
            }
    
            // Add "babel" type to script
            function add_babel_type($tag, $handle, $src)
            {
                if ($handle !== 'react-jsx') {
                    return $tag;
                }
    
                return '' . "\n";
            }
        }
    <div id="root_react"></div>
    
    <script type="text/babel">
        ReactDOM.render(<Test />, document.getElementById('root_react'));
    </script>
  • Formattare una data in nice date

    Formattare una data in nice date

    Come formattare una data in modo che appaia nel formato: “2 minuti fa”

    function nice_date($datetime, $full = false)
            {
                date_default_timezone_set("Europe/Rome");
    
                $time_ago = strtotime($datetime);
                $time_now = time();
                $now = new \DateTime('@' . $time_now);
                $ago = new \DateTime('@' . $time_ago);
                $diff = $now->diff($ago);
    
                $diff->w = floor($diff->d / 7);
                $diff->d -= $diff->w * 7;
    
                $string = array(
                    'y' => array('singolare' => 'anno', 'plurale' => 'anni'),
                    'm' => array('singolare' => 'mese', 'plurale' => 'mesi'),
                    'w' => array('singolare' => 'settimana', 'plurale' => 'settimane'),
                    'd' => array('singolare' => 'giorno', 'plurale' => 'giorni'),
                    'h' => array('singolare' => 'ora', 'plurale' => 'ore'),
                    'i' => array('singolare' => 'minuto', 'plurale' => 'minuti'),
                    's' => array('singolare' => 'secondo', 'plurale' => 'secondi'),
                );
    
                foreach ($string as $k => &$v) {
                    if ($diff->$k) {
                        if ($diff->$k > 1) {
                            //plurale
                            $v = $diff->$k . ' ' . $v['plurale'];
                        } else {
                            //singolare
                            $v = $diff->$k . ' ' . $v['singolare'];
                        }
                    } else {
                        unset($string[$k]);
                    }
                }
    
                //print_r($string);
                if (!$full) {
                    $string = array_slice($string, 0, 1);
                }
    
                if ($time_now > $time_ago) {
                    $ret = $string ? implode(', ', $string) . ' fa' : 'proprio adesso';
                } else {
                    $ret = $string ? 'tra ' . implode(', ', $string) . '' : 'proprio adesso';
                }
                return $ret;
            }
    
    $my_date = nice_date('2020-01-05 20:30');
    echo $my_date // 5 mesi fa
  • Problema installazione pacchetti NPM su mac osx

    Problema installazione pacchetti NPM su mac osx

    Problema

    Quando provi ad installare un qualsiasi pacchetto in NPM, alla fine dell’installazione non da nessun errore ma quando verifichi la corretta installazione non ha installato nulla

    Soluzione

    first check your npm root and npm root -g the result for the npm root -g should be something like "/usr/local". if it’s not, then you found your problem.

    change it by:

    npm config set prefix /usr/local

    then npm root -g should give you something like /usr/local/lib/node_modules . Then go ahead re-install everything with -g you will be good to go!

  • Inviare dati POST tramite curl

    Inviare dati POST tramite curl

    Come inviare dati in POST tramite curl ad un servizio remoto

    $post = array(
                'name'=>$name,
                'note'=>$note,
            );
    
            $url = 'https://urlremoteservice.xxx';
            $ch = curl_init();
    
            curl_setopt($ch, CURLOPT_URL, $url);
            curl_setopt($ch, CURLOPT_RETURNTRANSFER, 1);
            if ($post !== false) {
                curl_setopt($ch, CURLOPT_POST, 1);
                curl_setopt($ch, CURLOPT_POSTFIELDS, json_encode($post));
            }
    
            $headers = array();
            $headers[] = 'Accept: */*';
            $headers[] = 'Content-Type: application/json';
            $headers[] = 'Cache-Control: no-cache';
            
            curl_setopt($ch, CURLOPT_HTTPHEADER, $headers);
            curl_setopt($ch, CURLOPT_SSL_VERIFYPEER, FALSE);
            curl_setopt($ch, CURLOPT_HEADER, 1);
            //curl_setopt($ch, CURLOPT_FAILONERROR, 1);
    
            $result = curl_exec($ch);
            if (curl_errno($ch)) {
                echo 'Error (' . curl_errno($ch) . '):' . curl_error($ch);
            }
    
            $header_size = curl_getinfo($ch, CURLINFO_HEADER_SIZE);
            $header_resp = substr($result, 0, $header_size);
            $body_resp = substr($result, $header_size);
            curl_close($ch);